
Pumpkin Life Cycle Worksheets | Parts of a Pumpkin Printables (Preschool to Grade 2)
Pumpkins are everywhere in the fall, so we might as well get some science out of them before they become porch decorations and pie.
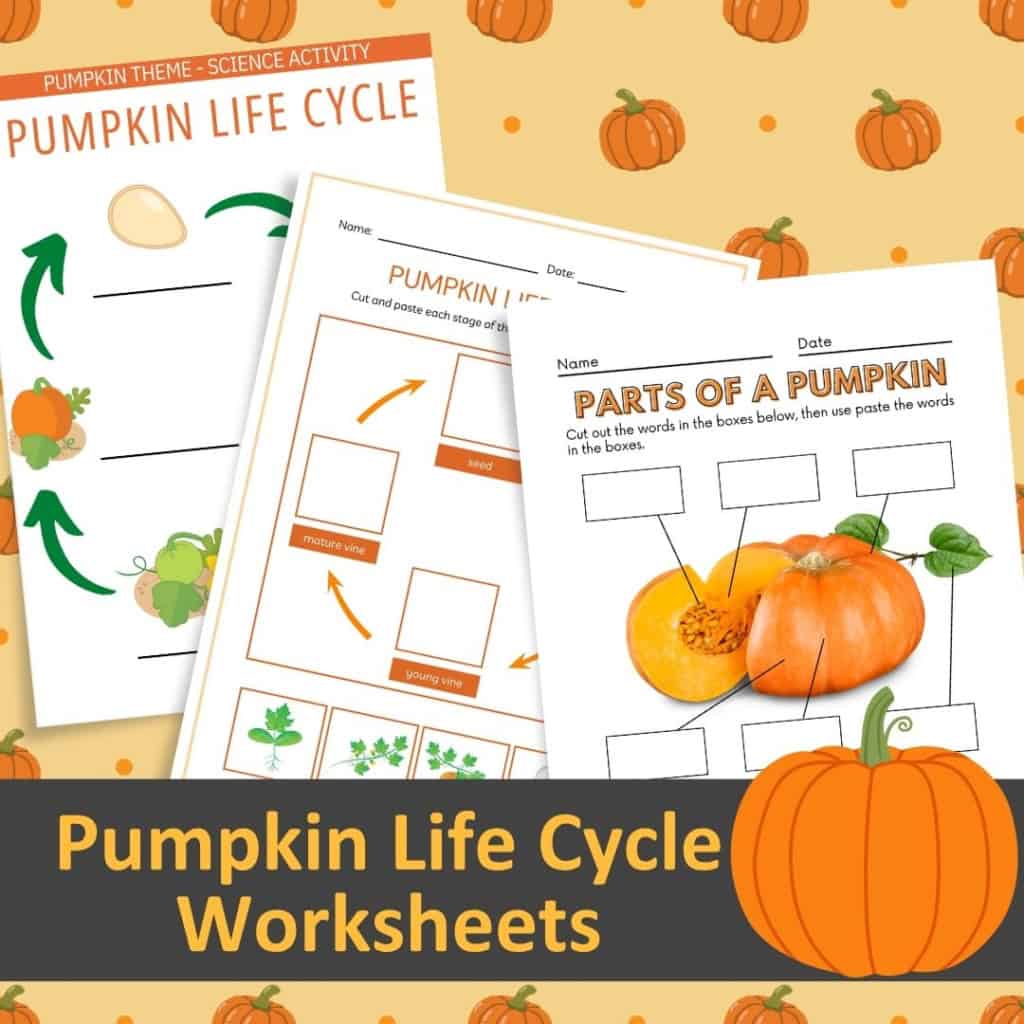
These pumpkin life cycle worksheets cover more than just putting seed, sprout and pumpkin in order. The printable includes several ways to work on the pumpkin life cycle, plus parts of a pumpkin worksheets and a simple floating pumpkin experiment.
That gives parents and teachers some flexibility. You can use the pages together as a small pumpkin science unit, or choose the activity that matches the skill your student is working on.
Related Activities to Do with the Pumpkin Life Cycle Activities:
Pumpkin Life Cycle Activities
A pumpkin begins as a seed. The seed sprouts, the plant develops into a vine and flowers appear. Eventually pumpkins begin growing on the vine and mature.
And then the process can begin all over again with the seeds inside the pumpkin.
The packet approaches that process in several different ways because knowing the stages and being able to recite a memorized list aren’t necessarily the same thing.
There are activities where students cut and paste the stages into the correct sequence, a page where they describe the different stages in writing, and pumpkin life cycle diagrams students can label.
One of the cut-and-paste activities uses five stages: seeds, sprout, vine, flower and pumpkin. Another activity expands the cycle to six pictures for students to color, cut and arrange.
So you can choose the amount of detail that makes sense for the learner.
Pumpkin Life Cycle Worksheets
Cut-and-paste activities can be particularly useful when you’re teaching sequencing.
Instead of asking a child to remember and write all of the stages independently, you give them the pieces and ask them to determine what happens first, next and last.
That lets you focus more specifically on whether they understand the sequence.
Of course, cutting introduces another skill entirely.
If you’re working with a student who understands the pumpkin life cycle but has difficulty using scissors, cut out the pieces beforehand. The objective is understanding the life cycle, not demonstrating mastery of Fiskars.
You can also laminate the pieces and add Velcro if you want a reusable pumpkin life cycle activity.
Download the Pumpkin Life Cycle Worksheets
This printable pumpkin science packet includes 10 pages covering the pumpkin life cycle, parts of a pumpkin and a floating pumpkin experiment.
There are cut-and-paste activities, labeling and drawing opportunities, life cycle diagrams and more open-ended writing, so parents and teachers can choose the pages that work for their learners.
Use them for a fall science unit, pumpkin theme, homeschool activity, science center or alongside a trip to the pumpkin patch.
Download the Pumpkin Life Cycle Worksheets and Parts of a Pumpkin Printables below.
Parts of a Pumpkin Worksheet
The packet also includes two different parts of a pumpkin activities.
One is a cut-and-paste labeling worksheet with a photograph of a cut pumpkin. Students use the word bank to label the rind, seeds, pulp, vine, rib and stem.
I really like using a photograph for this because students can see what the inside of an actual pumpkin looks like rather than only working from a cartoon diagram.
Another page takes a more open-ended approach. Students use a word bank containing stem, seed, fibrous strands, skin, pulp/flesh and leaf, then draw, color and label their own pumpkin.
Those two pages are working on similar content in different ways. One gives students much more visual support, while the other asks them to generate more of the diagram themselves.
Use a Real Pumpkin Too
If you have access to a real pumpkin, I’d absolutely use it with these worksheets.
Cut it open. Look at the stem, skin, pulp, seeds and fibrous strands. Let students touch the inside if they want to.
And yes, some kids are going to stick both hands directly into the pumpkin.
Others will react as if you have asked them to put their hands into a bucket of cold worms.
For students with sensory differences, participation does not have to mean touching pumpkin pulp. They can observe, use a spoon, wear gloves or just use the worksheet and pictures.
A science lesson does not become more educational because we forced someone to touch something they find unbearable.
Try the Pumpkin Floating Experiment
There’s also a simple pumpkin science experiment at the end of the packet.
Students place a small pumpkin into a basin of water nd observe whether it floats. The activity then has you add salt to the water and observe the pumpkin again, followed by a discussion about buoyancy.
Before you put the pumpkin in the water, ask students to make a prediction.
Will it sink or float? Why?
You can record the predictions before doing the experiment and compare them with what actually happens.
That’s a simple way to introduce the idea that science isn’t just knowing facts. We can make a prediction, test it and talk about what we observed.
Pumpkin Activities for Different Skill Levels
One of the better things about this packet is that you don’t have to use every page with every student.
A younger student or a student who needs more visual support might work on matching and sequencing the life cycle pictures.
A student with stronger writing skills can describe what happens during each stage. Another student might label the parts of a pumpkin or draw their own diagram.
That’s how I’d use these rather than assigning ten pages because, well, there are ten pages.
Pick the activity that matches what you’re actually trying to teach.
For most classrooms, I’d put these in the general kindergarten through second grade range, with some pages being easier or more difficult than others. For disabled students, I’d focus on the skills required by each activity rather than attaching too much importance to the grade level.
Pumpkin Science Before or After the Pumpkin Patch
These would also be great before or after a pumpkin patch or farm visit.
Before the trip, introduce the pumpkin life cycle and talk about what students might see growing in the field.
Afterward, use the worksheets to revisit what they saw. Did they see vines? Flowers? Green pumpkins? Mature pumpkins?
Even if a pumpkin patch trip isn’t happening, you can pair the printables with a real pumpkin, pumpkin seeds, books or videos about pumpkin growth.
Suddenly your $5 grocery-store pumpkin is an entire science lesson. Might as well get your money’s worth before carving it.